How do filters work?
To ensure your emails are perfectly tailored to your recipients’ interests, you can use conditional content via the Webpower platform. For example, you can choose to show one group of recipients different content than another group. To illustrate how this works, we will use “gender” as an example. If your audience consists of both men and women, it can be interesting to send the men an email with content that mostly appeals to men and do the same for the women.
How do I do this?
You can use conditional content with the help of filters. You can create a filter for all database fields that you generated for the campaign in question. To use the example of “gender” again, you must have created a “gender” database field at an earlier stage. This means your contacts’ gender will be recorded. To send different content to men and women, you will have to create a filter.
Creating a filter
There are two ways to create a filter:
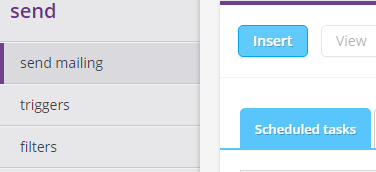
1. Via “Filters” in the “Send” tab
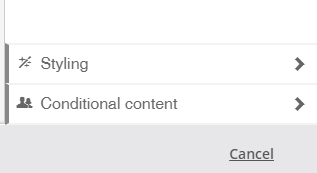
2. Directly in the email you are creating → “Conditional content” in the right-hand window → “Create new condition.”
Both options work the same:
STEP 1: First, you have to come up with a name for the filter. Make sure that you can recognise the filter based on the name. In our example, possible filter names would be “gender is male” or “gender is female.”
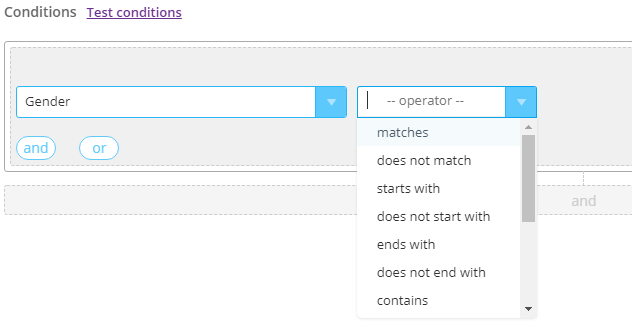
STEP 2: Next, select the right database field. If you want to differentiate between men and women, that probably means selecting the “Gender” database field.
STEP 3: Finally, select the options that apply to your filter. For the “female” filter, you could e.g. select “is equal to” and then enter what you want the database field to equal: “female.” Note that if a single database field includes multiple options, e.g. “female” and “woman,” the afore mentioned filter will not select all women in your database. After all, because “woman” is not the same as “female,” women with the former option will not be included.
 To use the filter for conditional content, you once again have two options:
In the blocks of the email itself: Choose this option if you want to use different content for different recipients in one or more blocks in your email. If, for example, you have a block of content that is only suitable for women, you can use the “female” filter on it. That ensures only female recipients will see this content.

When sending the email: Choose this option if you only want to send the email to some of your contacts (or if you have created a different email for the rest). If, for example, your email is only suitable for women, you can select this filter before sending it. This ensures only female contacts will receive the email in question; it will not be sent to any men.


 (No Ratings Yet)